
DISCOVER BOKASHI
REGENERATIVE GARDEN PRACTICES

Welcome to your zero-food waste lifestyle. The Bokashi lifestyle is a journey toward building healthy soil, a daily practice of collecting kitchen scraps to create a beneficial resource that feeds the soil. It’s really easy to do. The idea is that you pre-ferment your food scraps in buckets to help it break down faster than traditional raw food composting methods. If you are passionate about closing the loop and want to learn how to recycle all of your organic waste back into the soil, adding bokashi to your daily routine is right for you and your household.
-

BENEFITS OF BOKASHI.
Benefits of Bokashi, Composting comes with perks BY STACEY MESSINA Edible San Diego
-
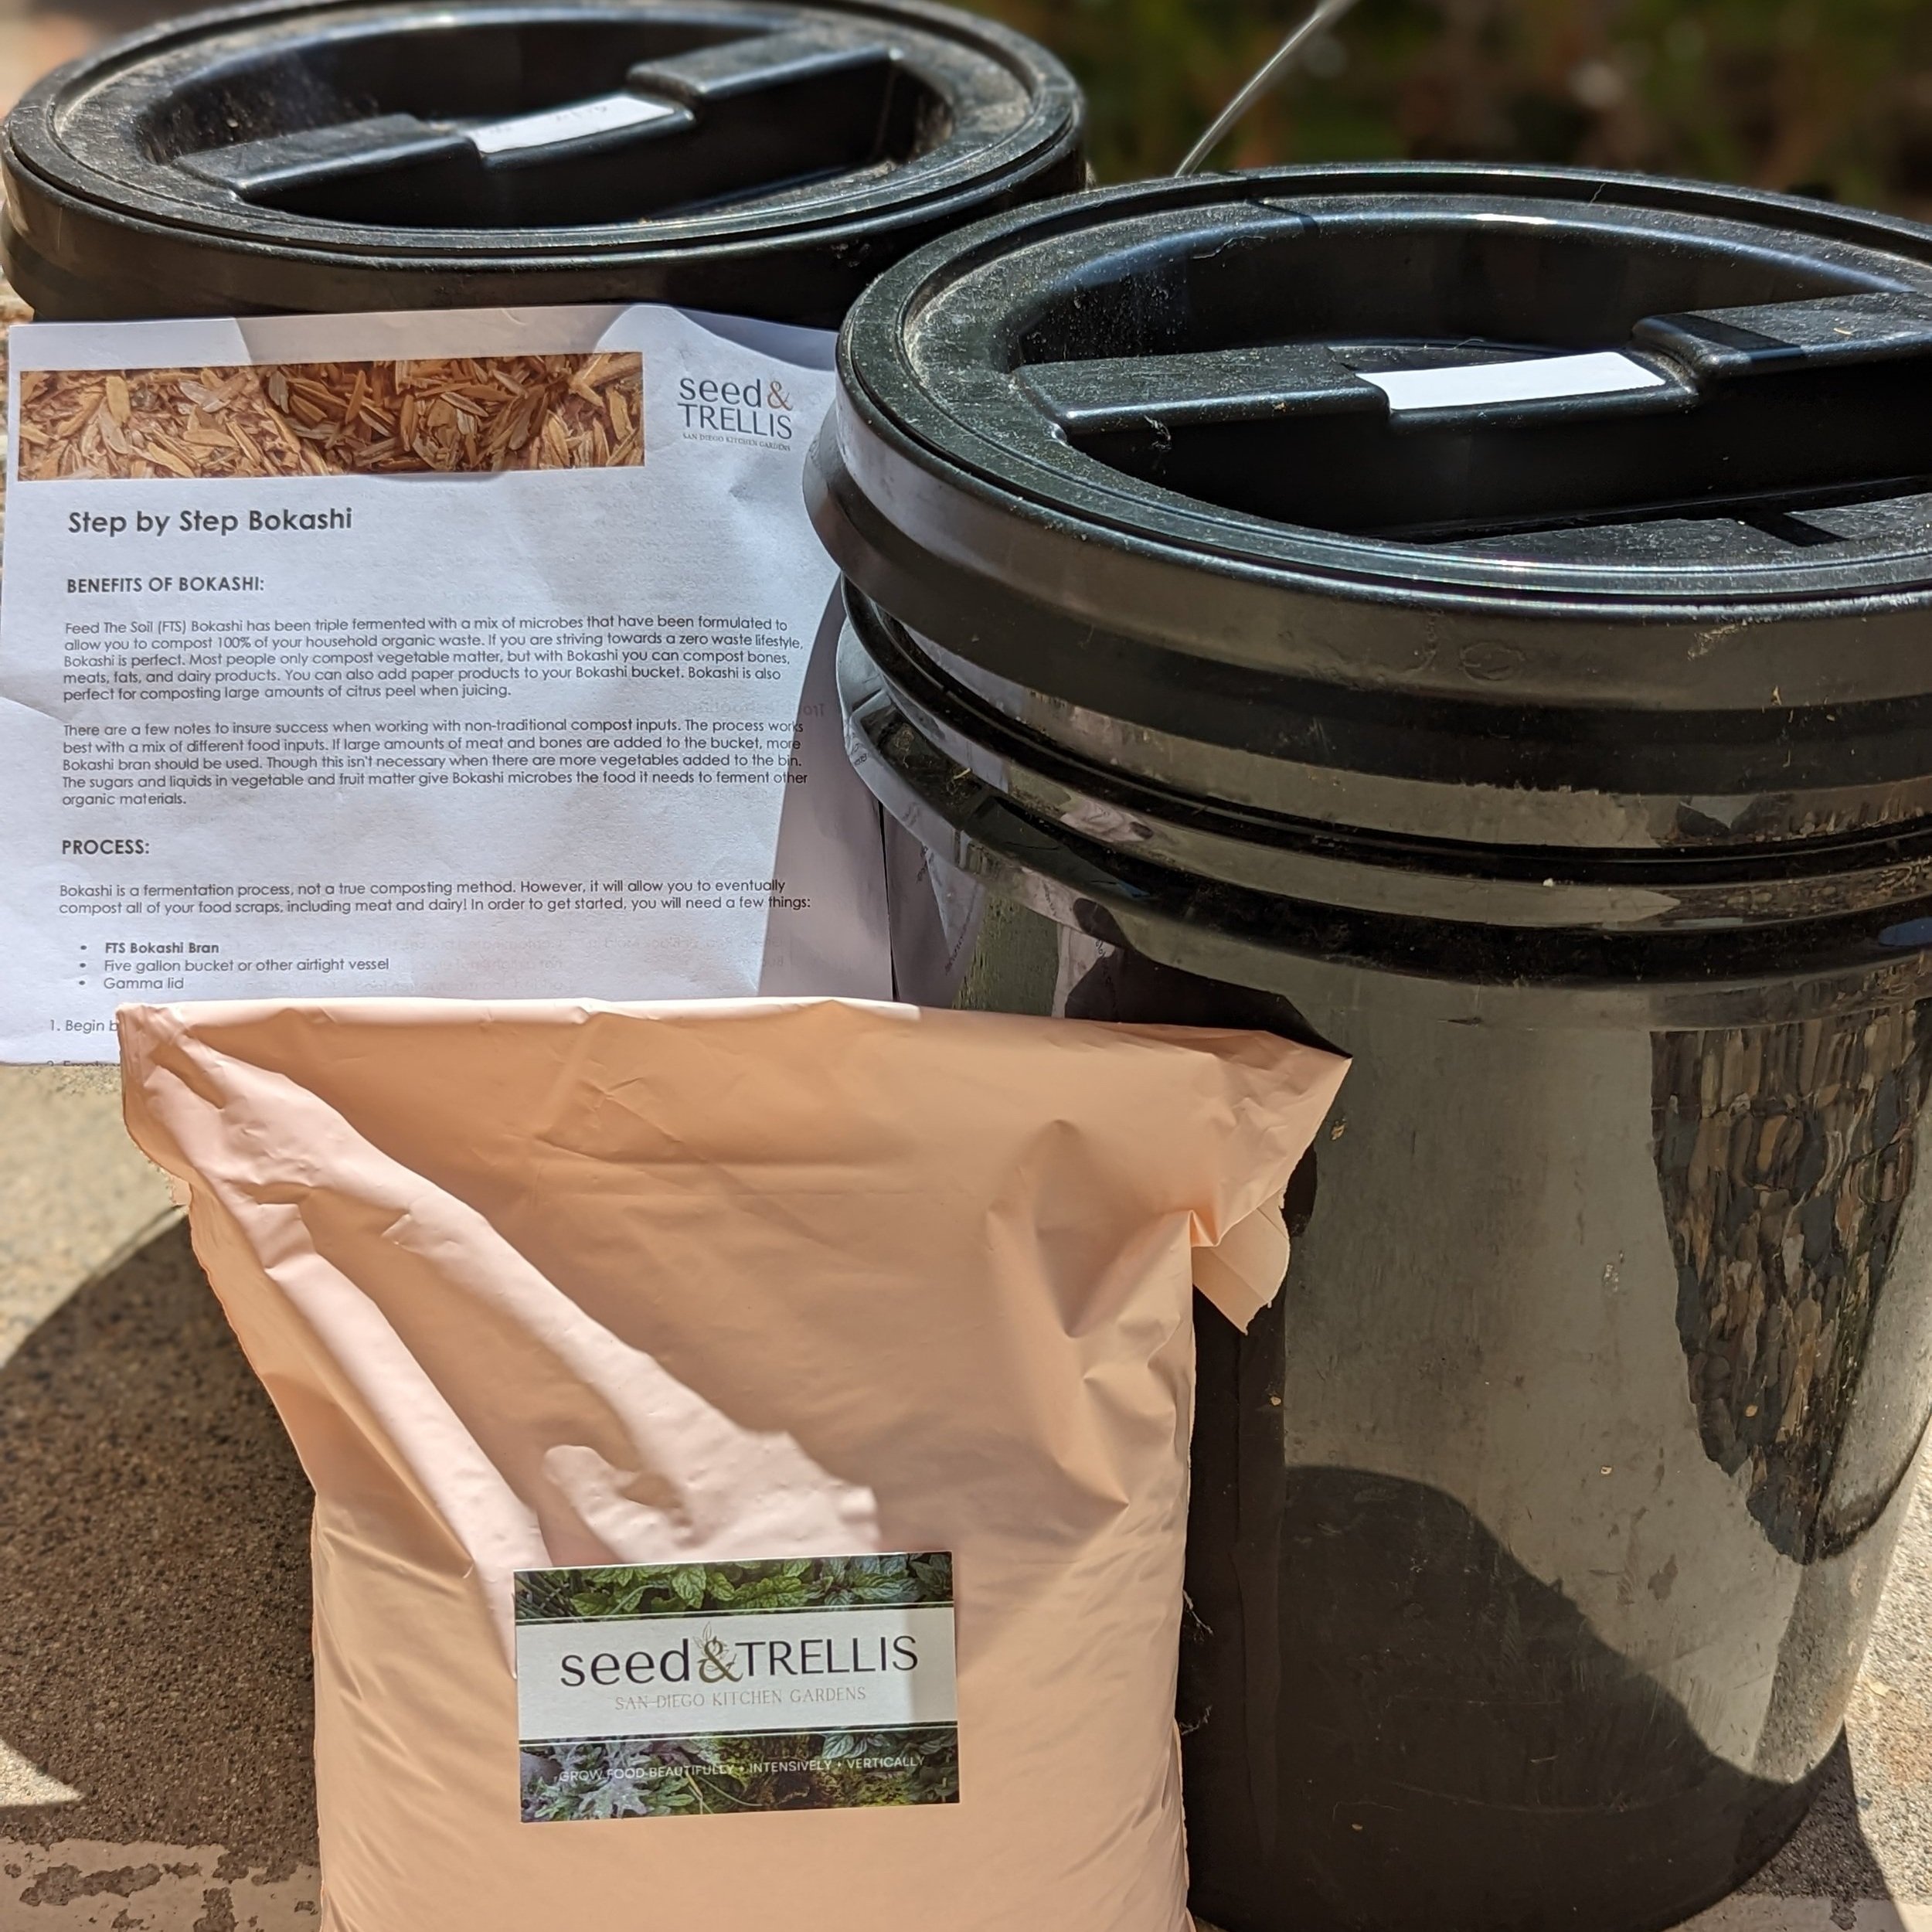
STOCK UP ON SUPPLIES
Shop bokashi bran refills and Custom Starter Kits shipped right to your door!
-

JOIN THE BOKASHI SUPPORT GROUP
Ask questions and post pictures of your progress! See you in the Facebook group.
-

WHAT IS LIVING SOIL
Painting by Stacey Messina representing the many layers of life in the soil. Soil is alive! Learn all about the key players in living soil.
SUPPORTIVE RESOURCES TO HELP YOU GET STARTED ON YOUR ZERO FOOD WASTE LIFESTYLE!
Read The Benefits of Bokashi article and HOW TO GET STARTED GUIDE.. A newly published article by Stacey Messina featured in Edible San Diego Magazine Spring 2023 Land Lovers Issue.
Access a Private Bokashi & Composting Support Group on Facebook for FREE!
Purchase a Bokashi Starter Kit in the Shop.
Purchase Bokashi Stickers in the shop HERE to label your buckets and anywhere else to share your love of bokashi!
Get 1:1 Coaching Support with Stacey anytime at Seed and Trellis. Get started HERE!!
GET SUPPLIES: SHOP AND CUSTOMIZE YOUR BOKASHI STARTER KITS
BOKASHI STARTER KIT: 2-bucket rotation. Recommended for a 1-2 person household. 2-bucket rotation.
BOKASHI STARTER KIT: 3-bucket rotation: Recommended for a household of 3-4 people.
BOKASHI STARTER KIT: 4-bucket rotation: Recommended for a large household 4+ who loves to garden and cook a LOT! I recommend a 3-5 bucket rotation.
ABOUT STACEY’S BOKASHI ROUTINE
Stacey’s Bokashi Routine: Our family of 4 uses a CUSTOM KIT of four or more buckets each with a special leak tite lid to divert ALL of our food scraps from the landfill. I prefer the 3.5 gallon buckets as they are lighter and not as heavy to lug around. Gather your food scraps on the counter and start your first bucket! I love helping you customize your kit. Email me for help at hello@seedandtrellis.com.
START DATE:
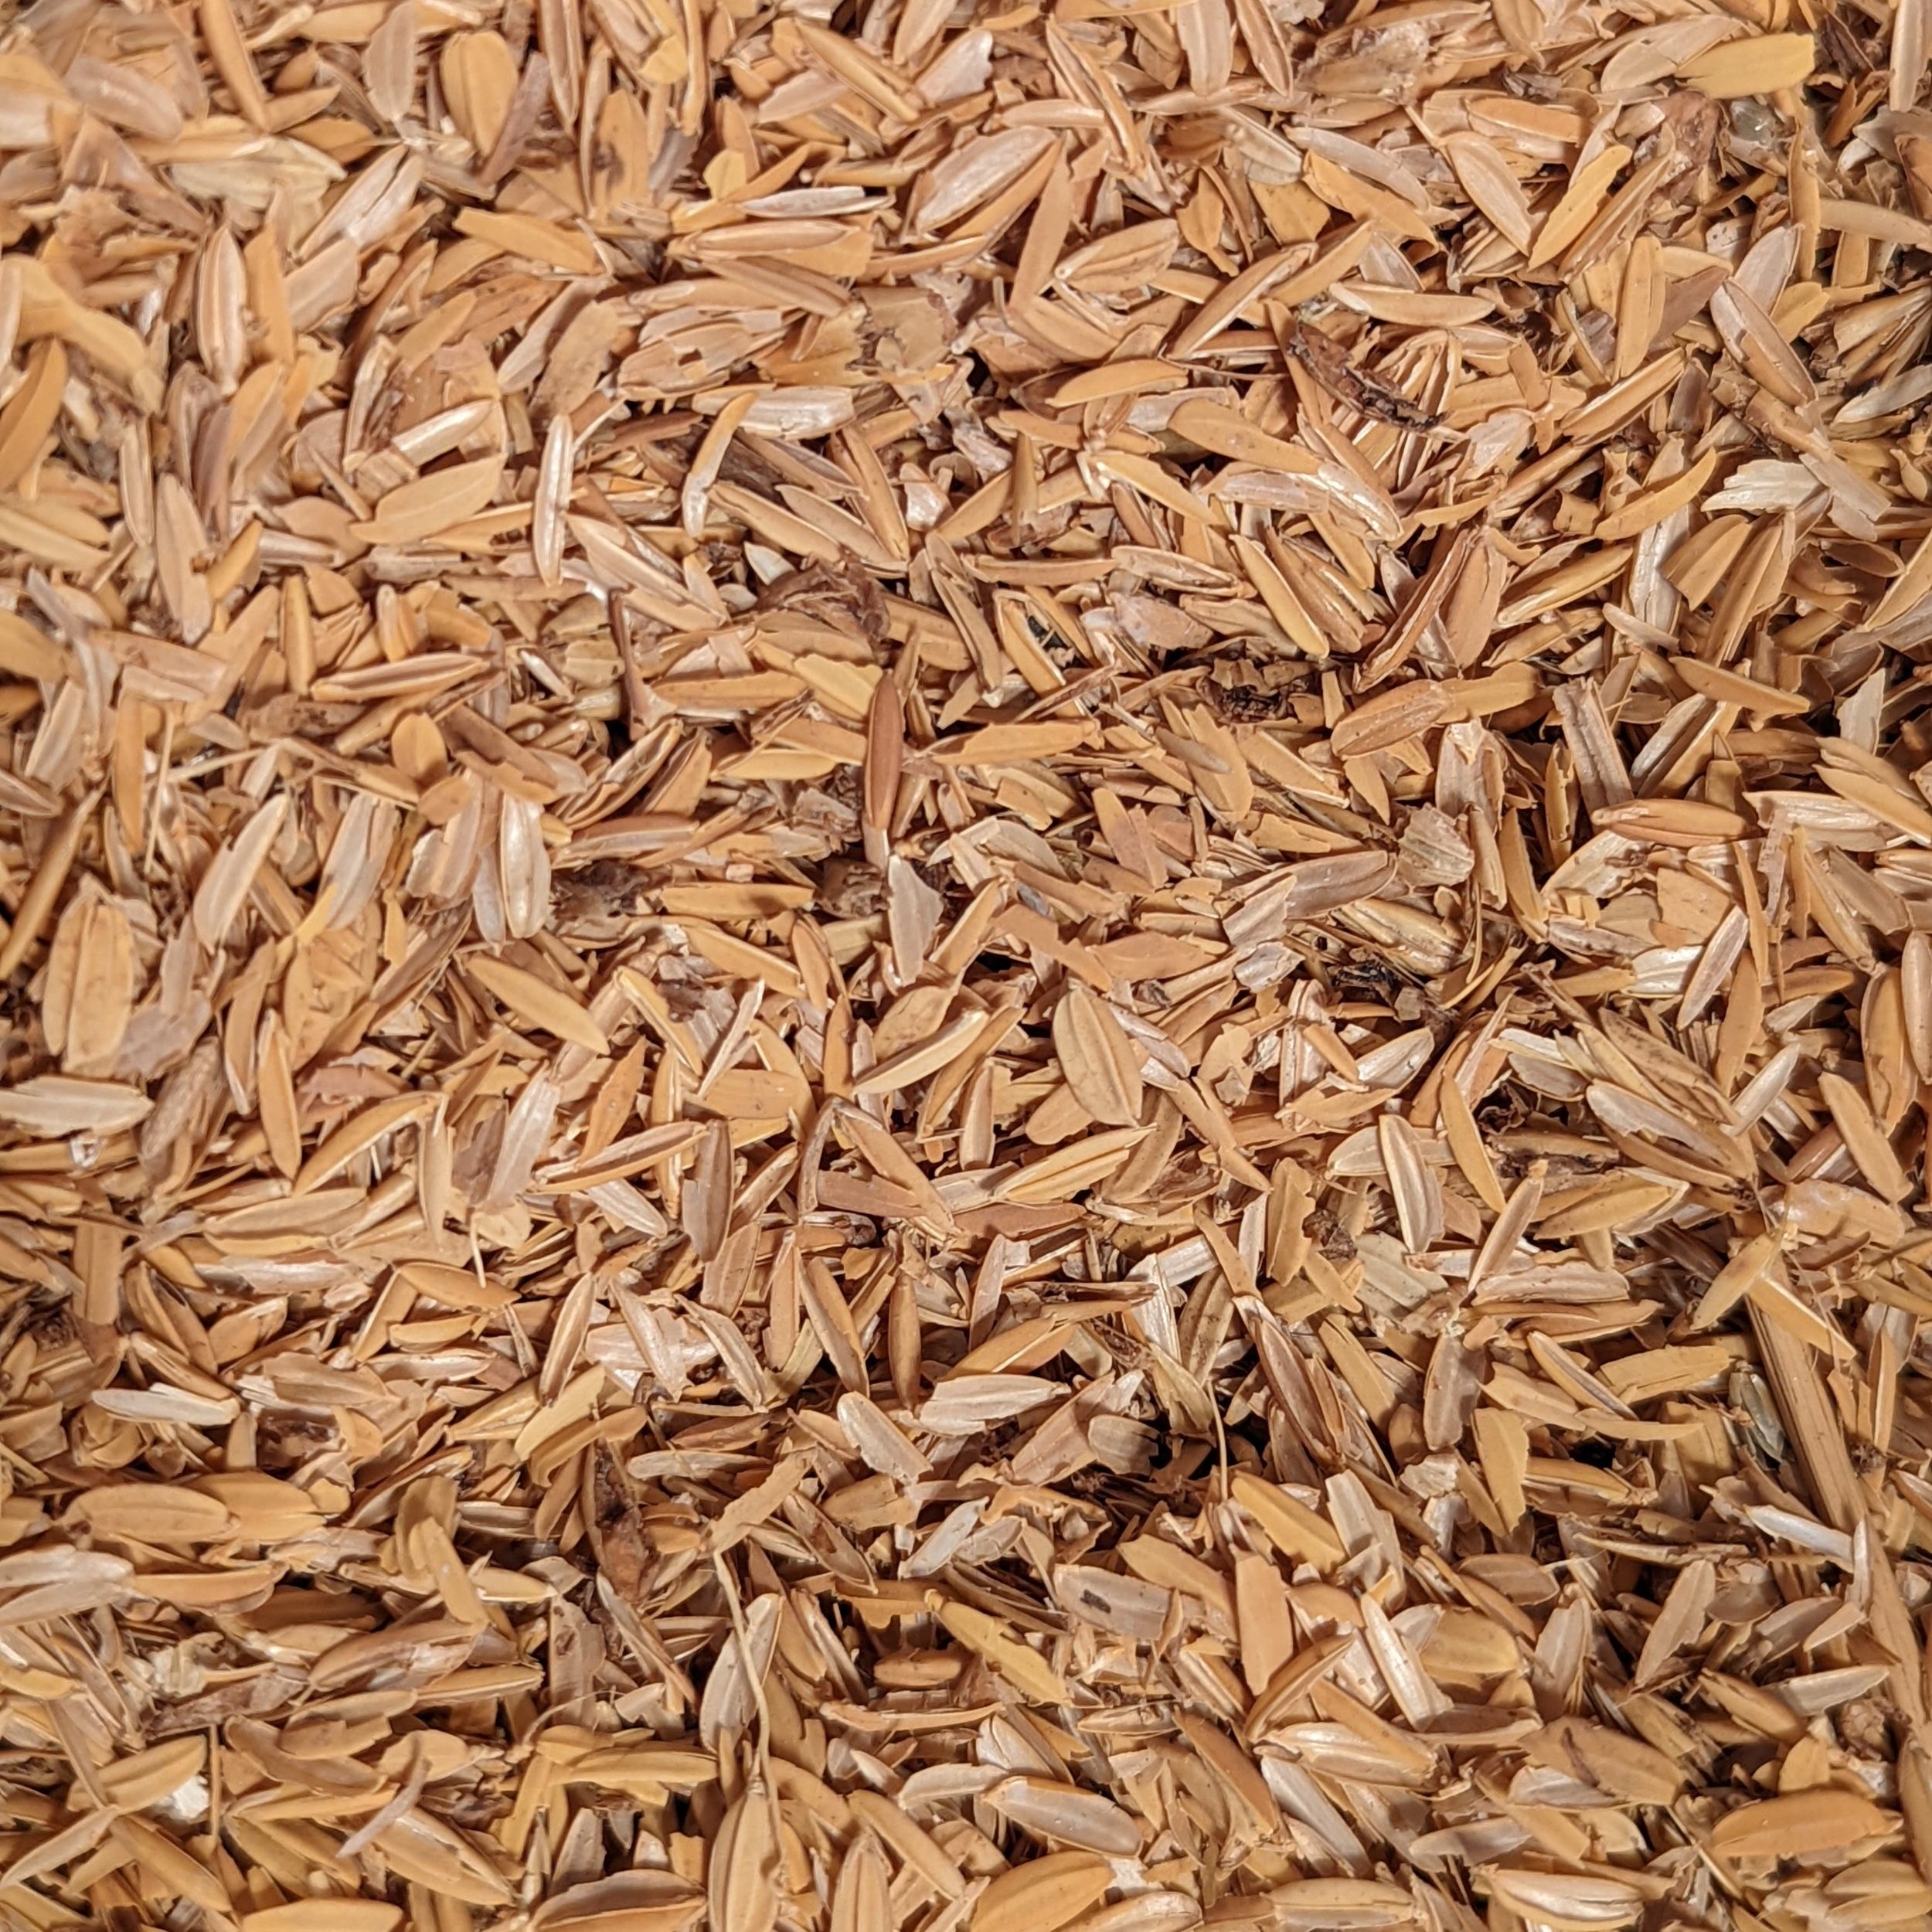
First, measure and add 1/4 cup of bokashibran to the empty bucket. I use the lid of the tin provided in the Bokashi Starter Kit. Next, add 2” of food scraps. Everything goes in. Food should not be larger thatn the palm of your hand. Sprinkle 1 tablespoon or a large pinch of bokashi bran on top of the food scraps. If you are adding meats, dairy, eggs, or moldy food double the sprinkle! Press the food down with a tool or hand until the air pockets are removed. Seal the lid tightly! Store bran and active bucket in a cool place or the microbes will die. Nothing over 80 degrees and nothing below 40 degrees. I store mine active buckets and bran either under my office desk, pantry, under the sink, or in the garage. Continue to add food scraps, sprinkle bran, and press air out, until the bucket is full, approx 1” below the lid rim so the food doesn’t touch the lid.
SEAL DATE:
Now that your first bucket is full, write your Seal Date using the labels and grease marker provided in the Bokashi Start Kit . Once it is sealed, the anaerobic process begins to ferment the food scraps over a 2-3 week waiting period. Don’t open it. Always label the bucket with a start date, seal date, and open date so I know when to check it. You can get these labels in the Bokashi Starter Kits or anytime you reorder bran from the shop. I also like to add fun stickers to my bucket each time I fill it up so I can track how many gallons of food waste I am diverting! Start adding food to your next bucket!!
OPEN DATE:
After 2-3 weeks, I open the bucket and smell it and look at it. It should smell like strong pickles, vinegary, or may have white fluffy stuff growing on the surface. That is good and it is ready to use.
TROUBLESHOOTING:
If it still smells like rotting food, has green, black or pink molds, I add a hefty amount of chopped-up rainbow chard (2-3 cups) from my garden and another 1/4 cup of bran. Stab the greens down a few times with a tool like a hori hori knife or a hand shovel. to distribute fresh bran and greens lower into the bucket and feed the microbes. Reseal for one more week. If the food in the bucket is tan color and putrid, there is nothing you can do. bury it, DEEP in the soil or add to your compost bin with lots of LIVING SOIL and nature will take care of it. Sart over. Sanitize the buckets and clean it well.
USE IT!: I have a couple of options to utilize the bokashi or pre-fermented food scraps. First I will need SOIL, LIVING SOIL specifically. For example, mother compost, or worm castings, or mushroom compost., or bagged compost from a nursery. I like Malibu Bu’s Blend Bidodynamic Compost, worm castings, or free municipal compost available in your city. Always mix the Living Soil very well with the bokashi before burying it to accelerate decomposition. Chop of chunky bokashi and get that soil in contact with your fermented food. The garden fork is best. You can mix the bokashi and soil on the ground, in a large bin, or a wheelbarrow depending on the space you have. Adding Living Soil is very very important to the bokashi practice.
HERE ARE COMMON BOKASHI APPLICATION METHODS:
TRENCH METHOD
SOIL FACTORY METHOD
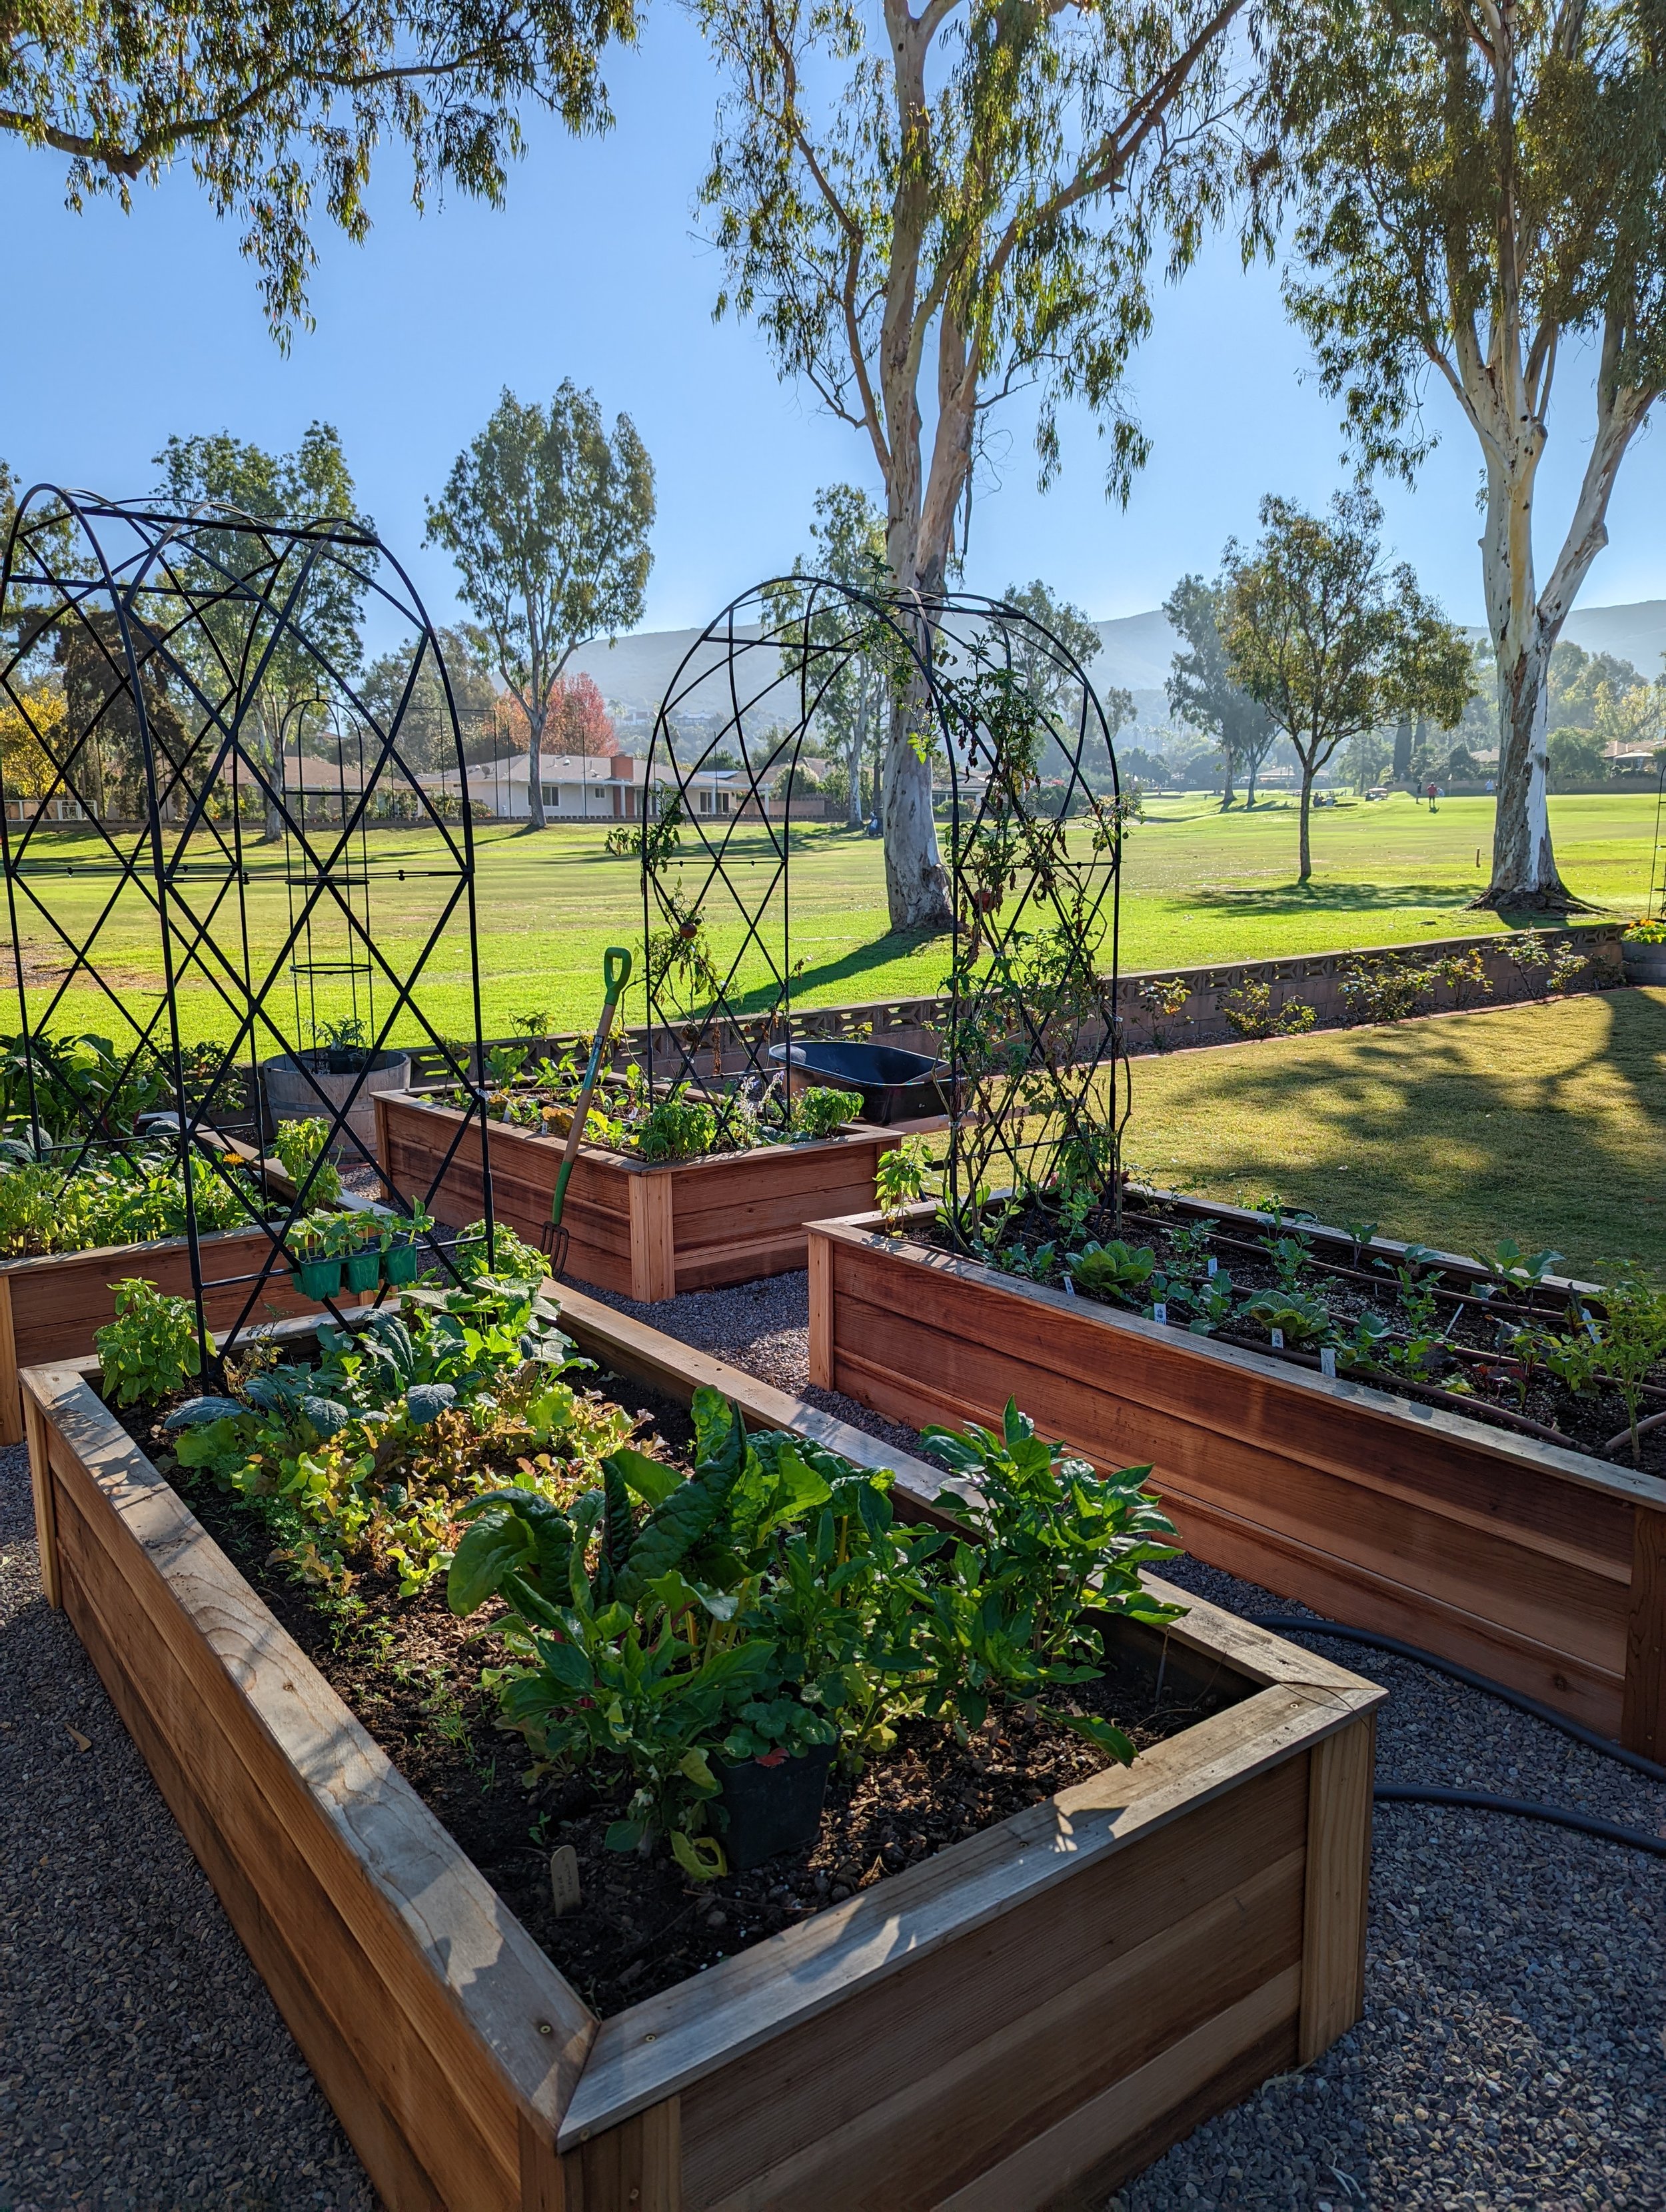
RAISED BED OR GARDEN POT METHOD
HOT COMPOST PILE METHOD
WORM BIN METHOD
MY PREFERRED METHOD: #4 Hot Compost Method. This method requires more work and effort than the other option, however, the product is amazing and well worth it.
After the buckets are fermented, I like to stockpile 3-4 buckets on the side of the house in the shade and hord materials to build a hot compost pile. I have lots of storage bins that hold the browns until I am ready to use them. As I collect lots browns or carbon over several months I try to shred them up as I go so it’s not a huge task later. I have a 3’x3’x3’ compost bay or 1 cubic yard. I usually have a 1/2 cubic yard of various carbon materials (leaves, small sticks, cardboard, egg cartons, shredded paper, etc) and 1/2 cubic yard of old soil on hand. Prior to adding bokashi to the compost pile, I mix it up with some reserved mother compost or native topsoil in a wheelbarrow. I will also need at least 5-10 gallons of Mother compost from my last pile or 1-2 bags from the nursery.
Now that I have all my materials ready to go, I make sure I have my shovel, pitch fork, and water hose ready to go. A mask can be useful and gloves as well. Build the compost pile in layers. Stack 3” of browns, and 3” of bokashi-soil mix, brown and bokashi-soil mix and add water along the way. Rinse and scrub the buckets and lids over the pile as you go.. Finish the top with a hefty carbon cap of cardboard soil or mulch of some kind. Throw on a tarp if you have one to help keep that moisture in, and keep an eye on the temp.
Monitored the pile! The goal is to heat this puppy up to 130-160 F. I use a compost soil thermometer. They are about 18” long. The pile rarely needs turning, but does benefit from it. Move the inside core outside and outside to the core. Bokashi -soil mix accelerates the decomposition and ignites hot piles! After time, the pile cools to below 120 F. At this time I usually dig down and check on it. If the pile needs some mixing and still smells anaerobic, I can add more bokashi-soil buckets if I have more to add with more carbon.
After the pile cools to 80-90 F, I sift out any large particles over a wheelbarrow that are still recognizable and sift again using a 1/4” hardware cloth. Reserve the large chunks for the next compost pile. Harvest the finely sifted gorgeous soil. It is ready to use in the garden. Top and side dress 1-3” of your homemade bokashi compost to the tops of your beds at each growing season, plant, sow, and water in deeply. It’s amazing.
BENEFITS OF BOKASHI:
You will see a burst of life and growth within a few days to a few weeks of applicaiton. Our family has diverted so much food waste from the landfill since Jan 2020. I can see a huge difference in the soil structure, and the garden pests are little to none. Have fun and do it again! Keep practicing. Each bucket you will get better and better at living a zero food waste lifestyle. For more information about all the methods mentioned, feel free to reach out at hello@seedandtrellis.com or join the Private Bokashi & Composting Support Group on Facebook for FREE!
WORKSHOPS & COMMUNITY
COMMUNITY SUPPORT
BOKASHI& COMPOST TIPS
GOOD INPUTS/ BAD INPUTS
HOT COMPOSTING WITH BOKASHI
VERMICOMPOSTING
TEAS & APPLICATIONS
WEEKLY Q & A SESSIONS
EVENTS & WORKSHOPS
COMMUNITY GOALS
JOIN THE SEED & TRELLIS BOKASHI & COMPOSTING SUPPORT GROUP
JOIN THE SEED & TRELLIS BOKASHI & COMPOSTING SUPPORT GROUP

Discover Bokashi! Start living a zero food waste lifestyle. Just one cup of bokashi bran can ferment up to 5 gallons of food scraps and transform it into nutrient-rich soil in just weeks, not months like traditional composting practices!
Join the new Support Group on Facebook. All are welcome and it’s free to join. There are so many ways to compost and bokashi. My hope is this support group will help you troubleshoot and teach you new ways to customize the process so it fits within your lifestyle with ease!

Q&A FUN FRIDAY
Catch the replay all about composting and bokashi!