BORDERS
LANDSCAPE EDGING HELPFUL VIDEOS:
Clear the entire garden footprint including the pathway area after you install the irrigation and level the area.
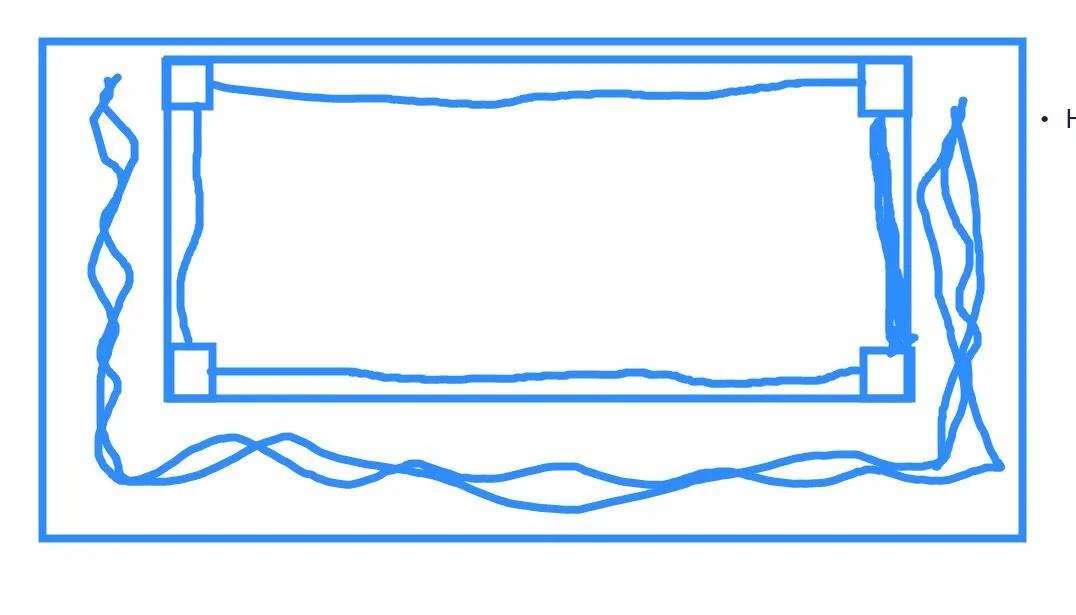
Mark the perimeter where your edging will go. Use stakes & twine or rope to identify your guide for straight lines and right angle corners.
Dig a trench for the border material along the perimeter. Use flat shovel to dig straight down along the straigh line of the twine. Set aside any excess grass /soil if needed.
Layout edging pieces. Begin laying out the pieces. Bend corners - see video link how to do it.
Place edging into the trench. Edging should be level approx 1 - 2 “ above the native soil line. Top edging should be about the same height of your grass and tall enough to hold all the pathway gravel in place.
Connect Pieces. Depending on the brand, you may need to overlap them by 2-3” or cut using a hack saw if needed.
Bend Corners. Watch this VIDEO how to bend right angles. Skip ahead and start watching at the 3 minute mark.
Drive in Stakes to secure edging in place. Adjust as needed to line up with your rope guides.
Replace top soil or sod. Compact soil with both feet on either side of the edging to a straight line.
PATHWAYS
Lay large flat pieces of tape-free cardboard on top of the leveled native soil footprint. Cover the entire area all the way to the edging you just installed. Overlap any pieces at least 3-6” to prevent light from hitting the soil.
Position your raised bed in the desired location and level. Measure to center. Optional: Raise bed corners off the ground using low profile pavers under each corner to prevent wood rot or set on gravel.
Fill the pathways with gravel and slightly fill under the raised bed edges with gravel to prevent soil contact and wood rot. Check for level. Leave the center of the raised bed open for new soil.
GREAT JOB!
Next up - Fill the Bed

Next, fill the beds….

